A step-by-step process to installing Oracle 19c Software for Single Instance Database on Red Hat Enterprise Linux 7.9#
Prerequisites#
Install required X11 packages#
Install X11 packages with following command based on your operating system release and version:
yum install xorg-x11-xauth -y
Configure X11 forwarding#
To enable X11 Forwarding, change the “X11Forwarding” parameter using vi or nano editor to yes in the /etc/ssh/sshd_config file if either commented out or set to no.
vi /etc/ssh/sshd_config
or
nano /etc/ssh/sshd_config
You should see similar output as the following:
X11Forwarding yes
Install the Dependencies#
🛠️Install the Following🛠️
yum install libnsl* -y
yum install -y bc
yum install -y binutils
yum install -y compat-libcap1
yum install -y compat-libstdc++-33
#yum install -y dtrace-modules
#yum install -y dtrace-modules-headers
#yum install -y dtrace-modules-provider-headers
yum install -y dtrace-utils
yum install -y elfutils-libelf
yum install -y elfutils-libelf-devel
yum install -y fontconfig-devel
yum install -y glibc
yum install -y glibc-devel
yum install -y ksh
yum install -y libaio
yum install -y libaio-devel
yum install -y libdtrace-ctf-devel
yum install -y libXrender
yum install -y libXrender-devel
yum install -y libX11
yum install -y libXau
yum install -y libXi
yum install -y libXtst
yum install -y libgcc
yum install -y librdmacm-devel
yum install -y libstdc++
yum install -y libstdc++-devel
yum install -y libxcb
yum install -y make
yum install -y net-tools # Clusterware
yum install -y nfs-utils # ACFS
yum install -y python # ACFS
yum install -y python-configshell # ACFS
yum install -y python-rtslib # ACFS
yum install -y python-six # ACFS
yum install -y targetcli # ACFS
yum install -y smartmontools
yum install -y sysstat
yum update -y
yum grouplist
yum group install "Development Tools"
Create Oracle Groups and add user#
groupadd -g 3001 oinstall
groupadd -g 3002 dba
groupadd -g 3003 oper
useradd -u 3001 -g oinstall -G dba,oper oracle
passwd oracle
Create the required directories#
mkdir -p /u01/app/oracle/product/19.3/db_home
Change Ownership & Access Permissions#
chown -R oracle:oinstall /u01
chmod -R 775 /u01
su - oracle
export CV_ASSUME_DISTID=RHEL8.5
Update the .bash_profile#
vi .bash_profile
nano .bash_profile
Update the Bash Profile with the following:
export ORACLE_BASE=/u01/app/oracle
export ORACLE_HOME=/u01/app/oracle/product/19.3/db_home
export CLIENT_HOME=/u01/app/oracle/product/19.3/client
#export ORACLE_SID=CDB
export LD_LIBRARY_PATH=\$ORACLE_HOME/lib:$CLIENT_HOME/lib:/lib:/usr/lib
export CLASSPATH=\$ORACLE_HOME/jlib:\$ORACLE_HOME/rdbms/jlib:$CLIENT_HOME/rdbms/jlib$
export NLS_LANG=american_america.al32utf8
export NLS_DATE_FORMAT="yyyy-mm-dd:hh24:mi:ss"
export PATH=$PATH:$HOME/.local/bin:$ORACLE_HOME/bin:$CLIENT_HOME/bin
19c Installation#
Download the Oracle 19c Software from Oracle’s Offical Website Copy it to $ORACLE_HOME location, unzip the software and run below cmd
./runInstaller
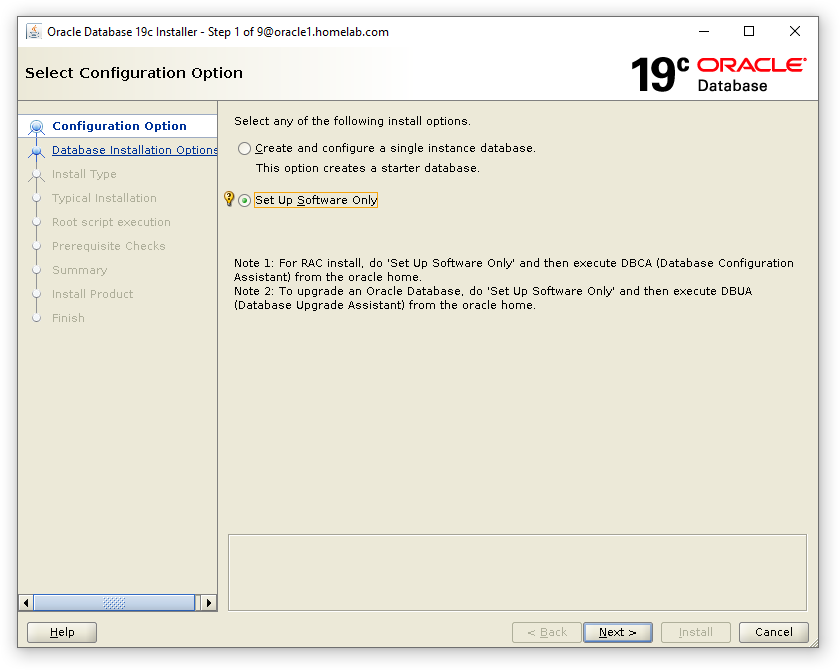
Oracle 19c DB Software Installation Wizard will appear.#
Select Setup Software Only.
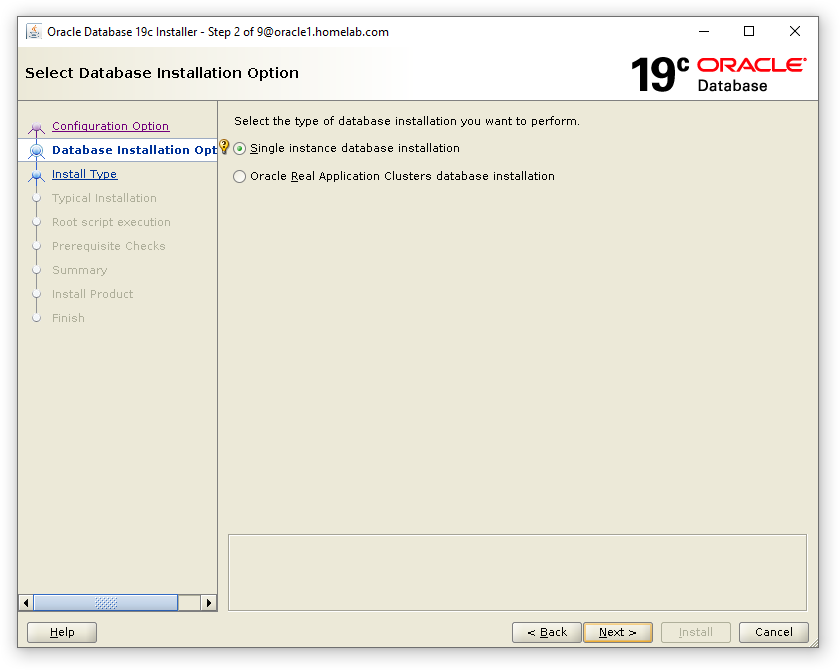
Select Single Instance Database Installation.
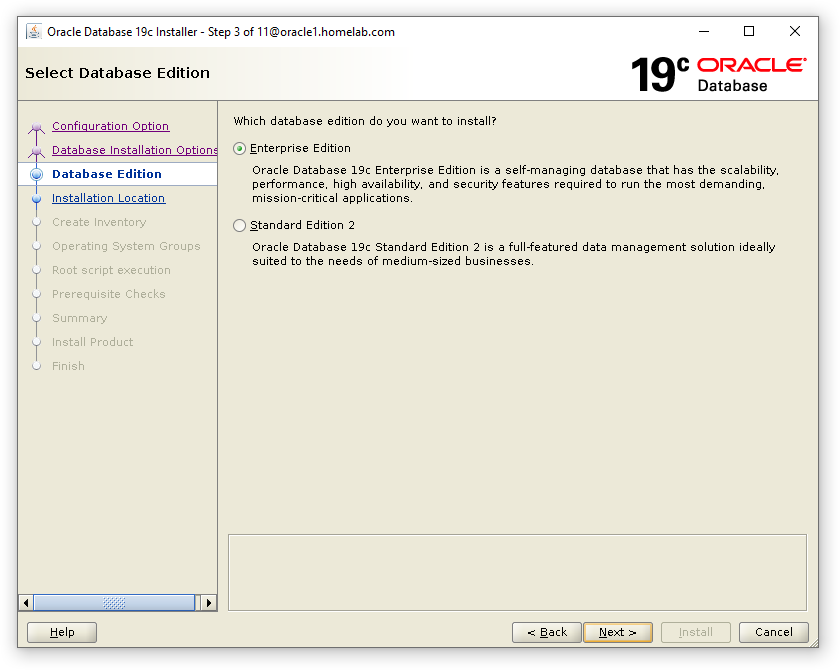
Select Enterprise Edition.
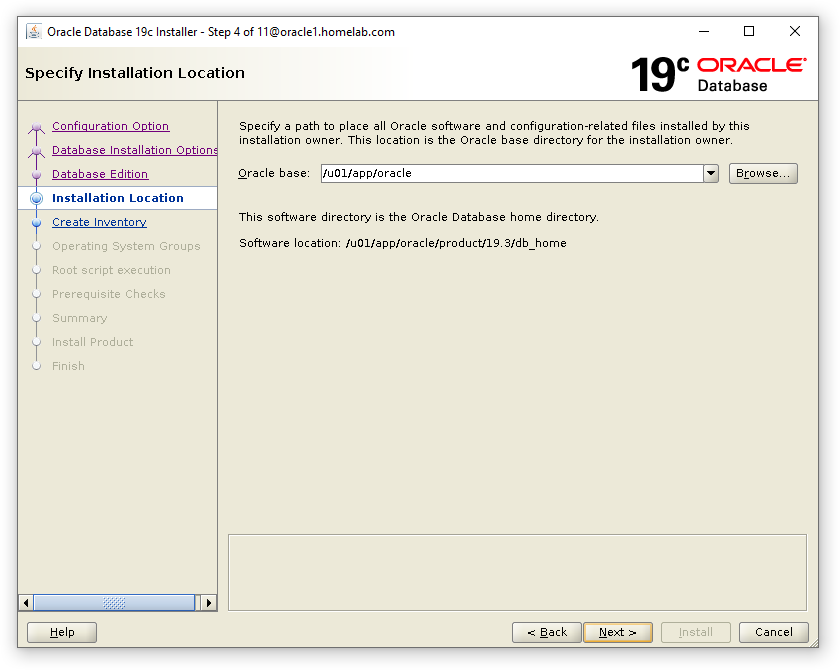
Verify Oracle Base Location and Proceed to the Next Step
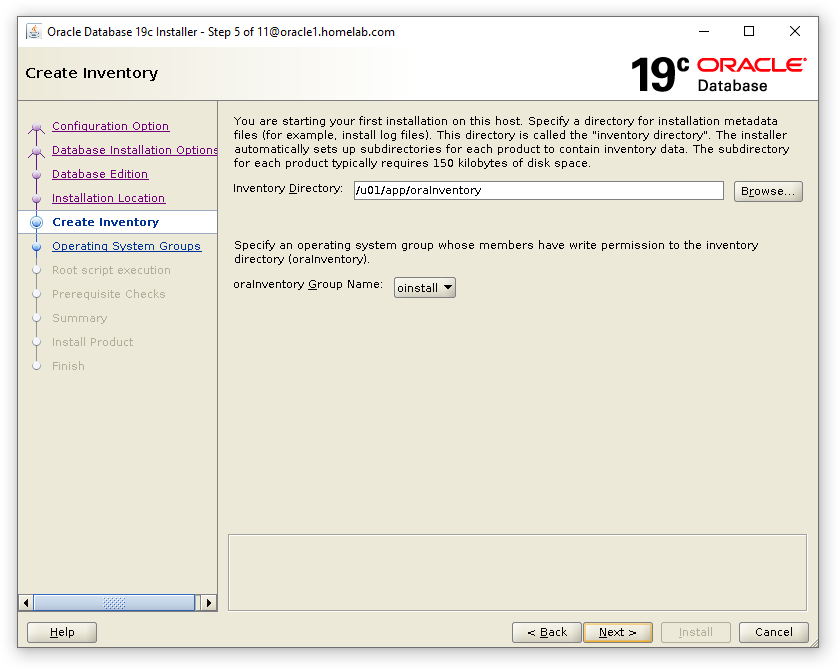
Verify Oracle Inventory Location and Proceed to the Next Step
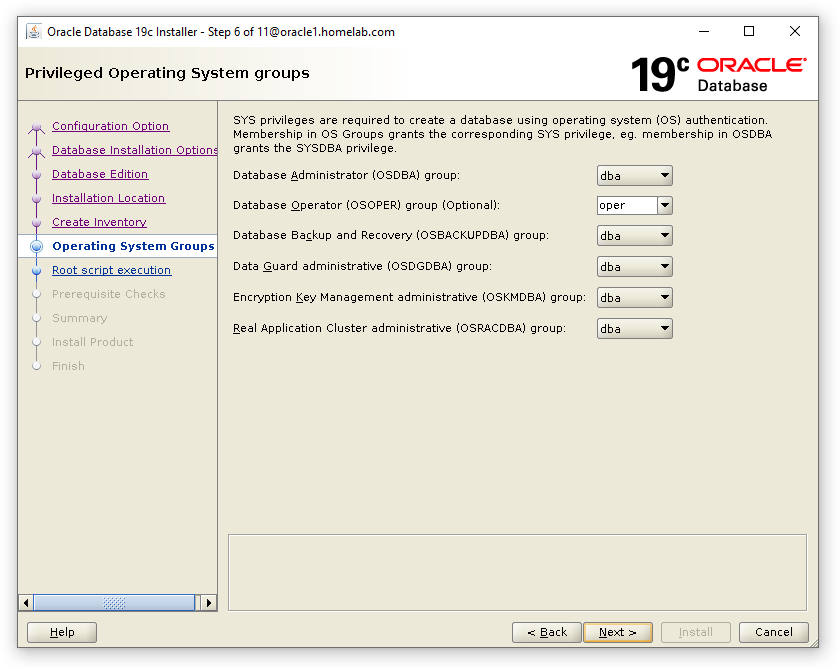
Verify the OS Groups created in the Prerequisite Step above.
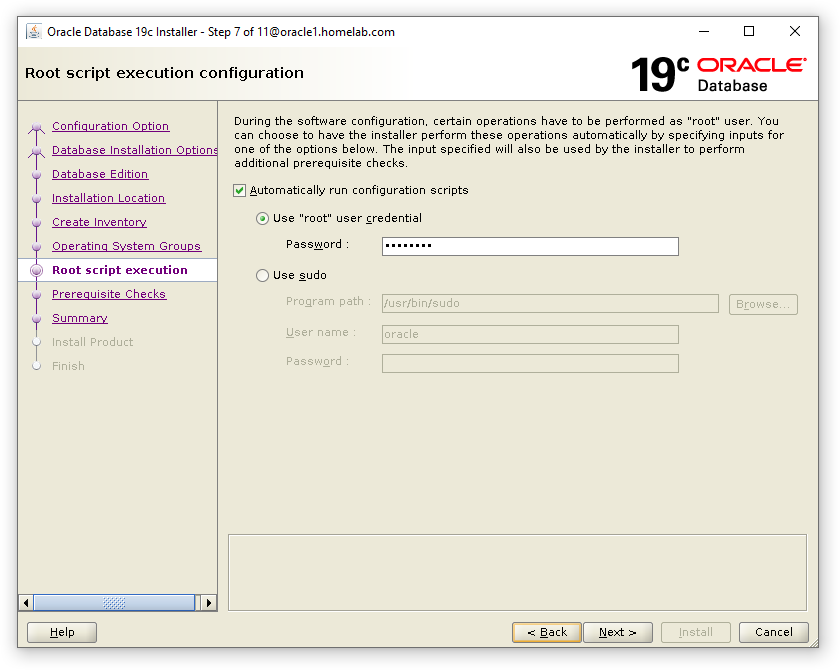
Select the Automatically run Configuration Scrips and Select use root and enter the root Password Below.
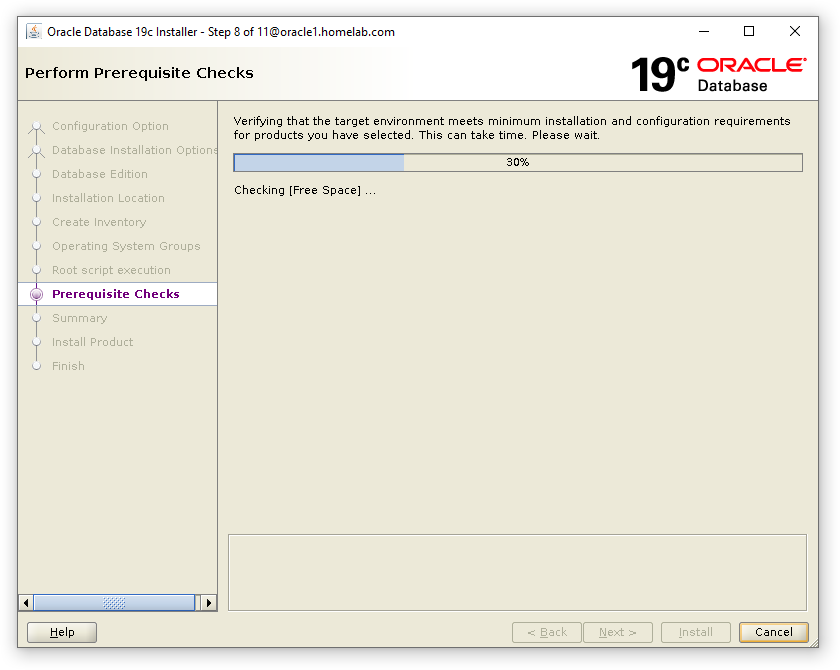
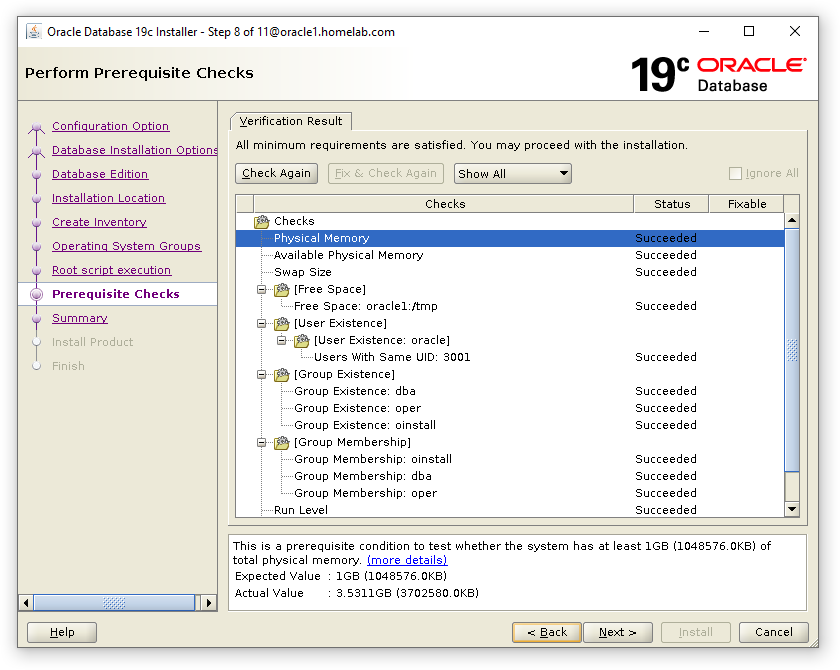
The Installer will perform the Prerequisite Checks before proceeding. Save the Response File once the Checks have been completed for future reference.
Installation of Oracle 19c Software will begin.
Once the Installation has Completed, Execute the following command to verify the sqlplus version.#
sqlplus -v
You will get the Following Output:#
